
Full Guide: Install MinGW, VS Code & Run C/C++ Programs (Windows)
Step 1: Install MinGW
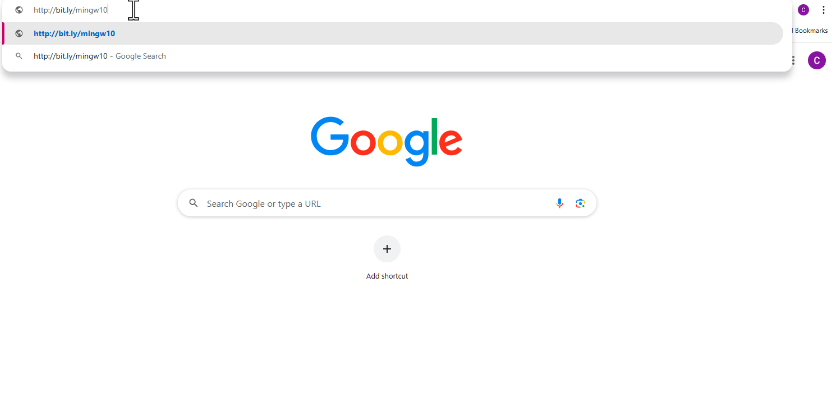
1. Open your browser and type this in the search bar:
👉 http://bit.ly/mingw10
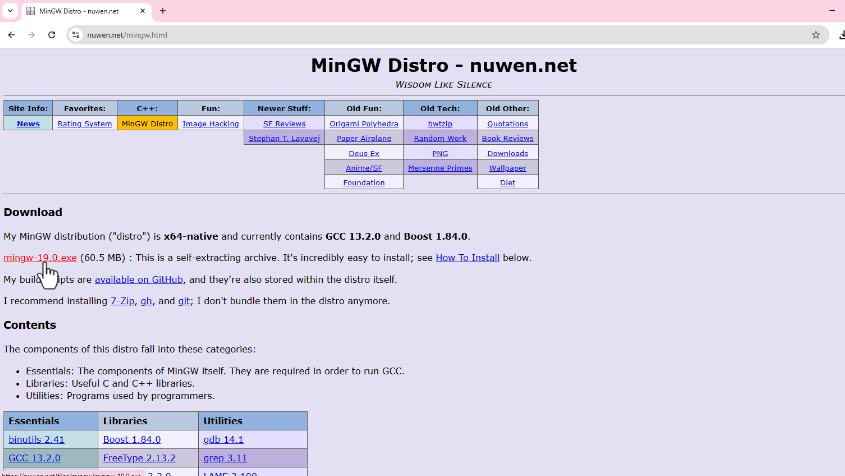
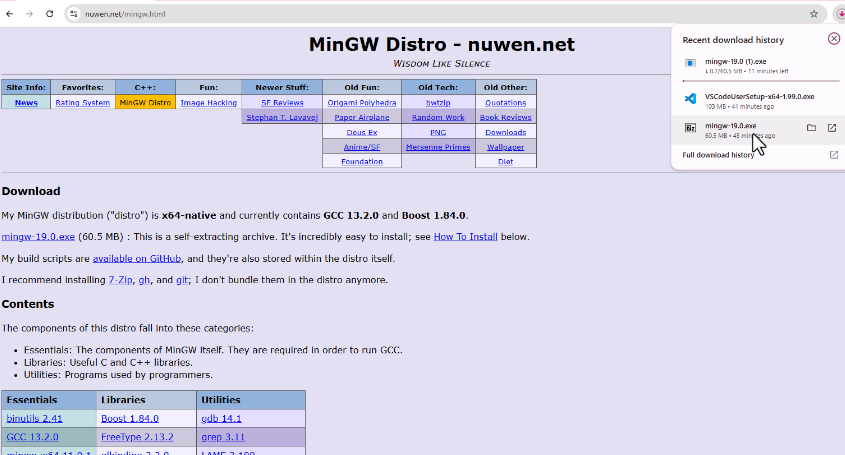
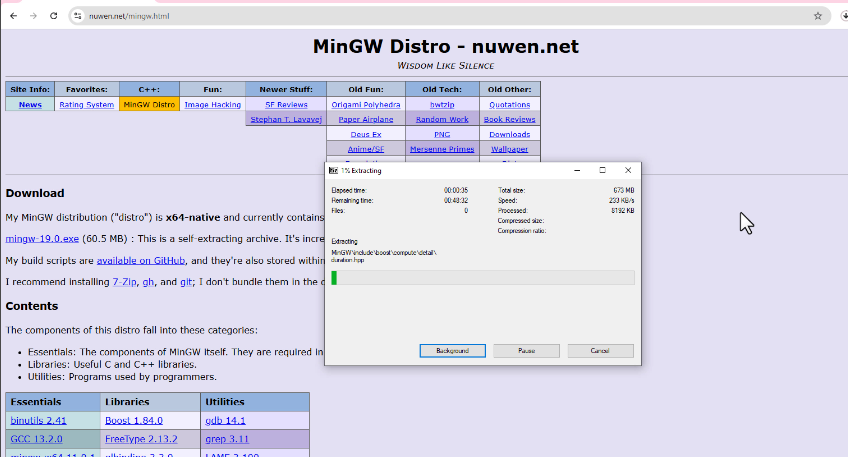
2. Click on the file named mingw-19.0.exe – the download will start automatically.
3. Once the file is downloaded, open it.
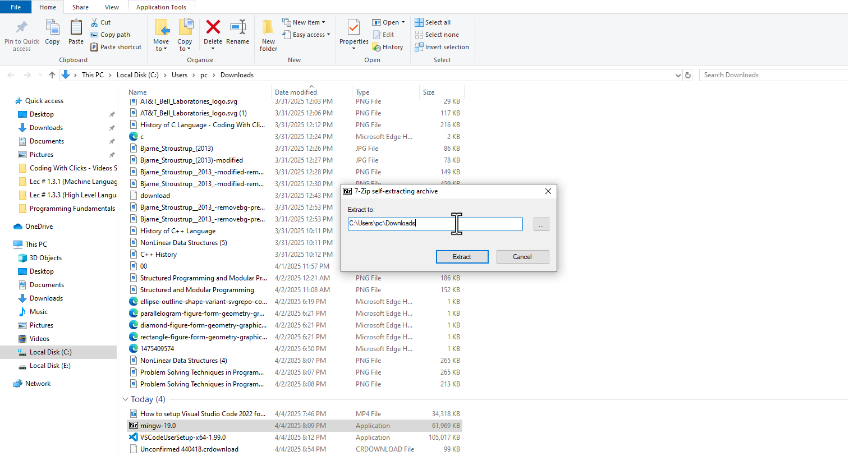
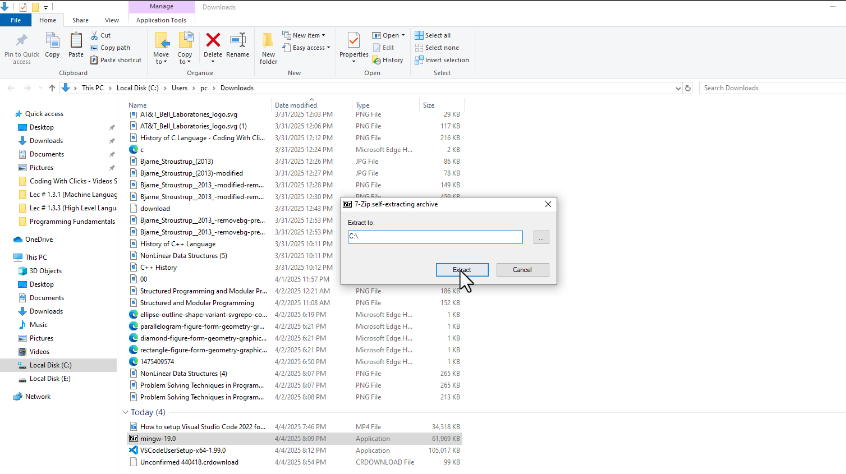
4. In the extractor window:
- Remove everything in the address bar after
C:\
- Click Extract

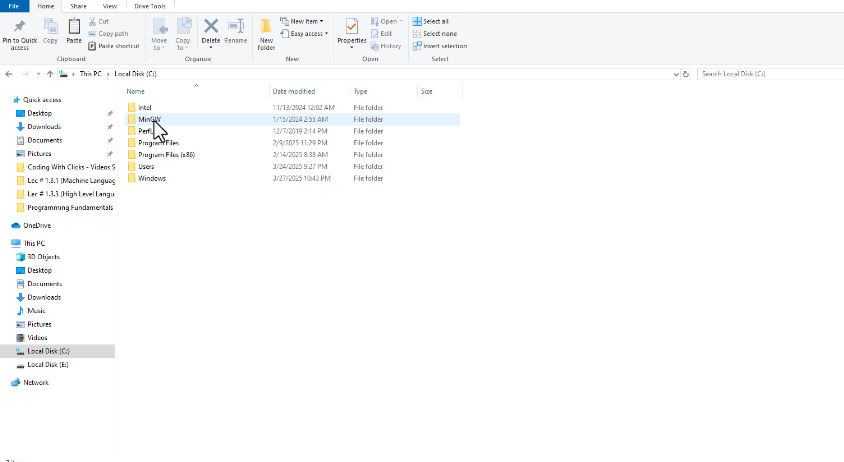
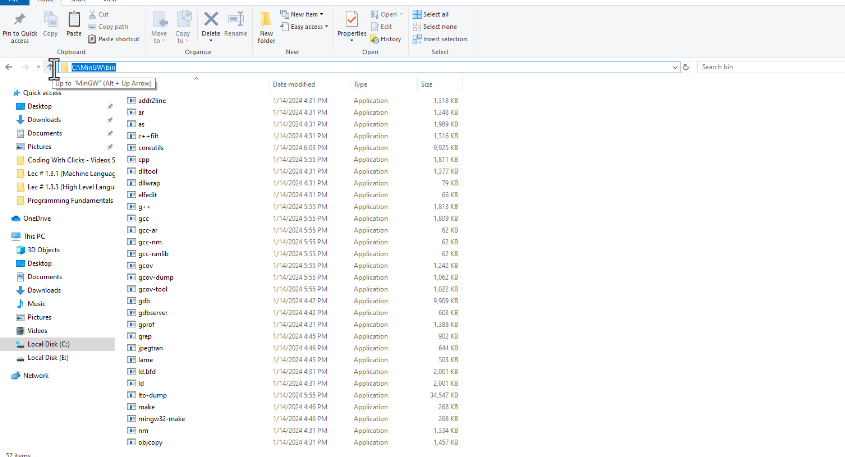
5. After extracting:
- Go to Local Disk (C:)
- Open the MinGW folder
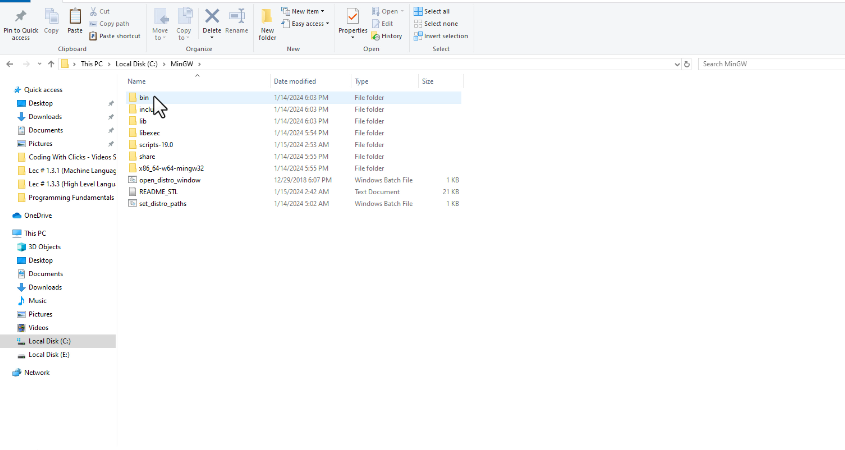
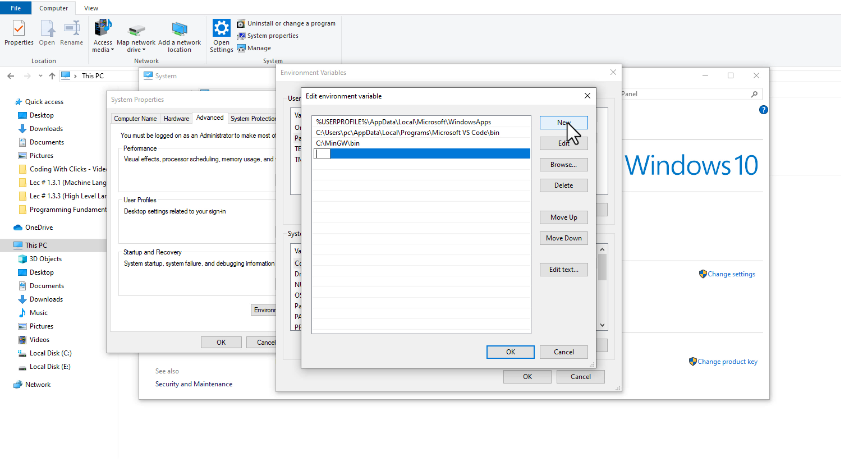
- Open the bin folder
- Copy the address shown in the path bar (e.g.
C:\MinGW\bin)
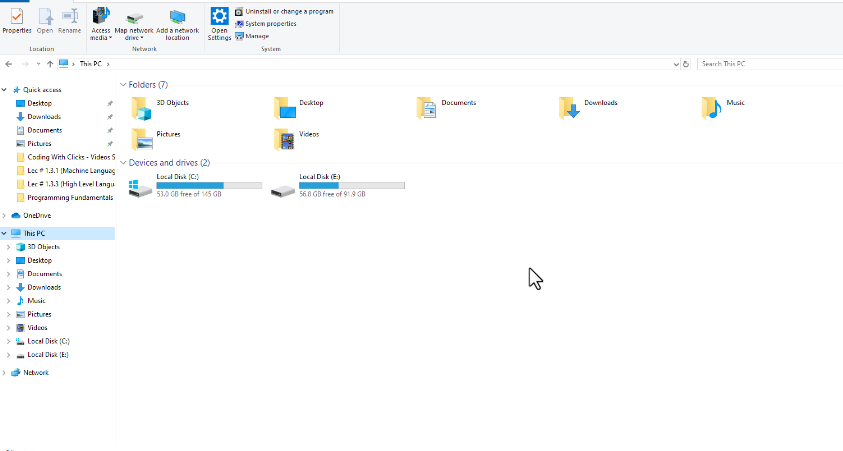
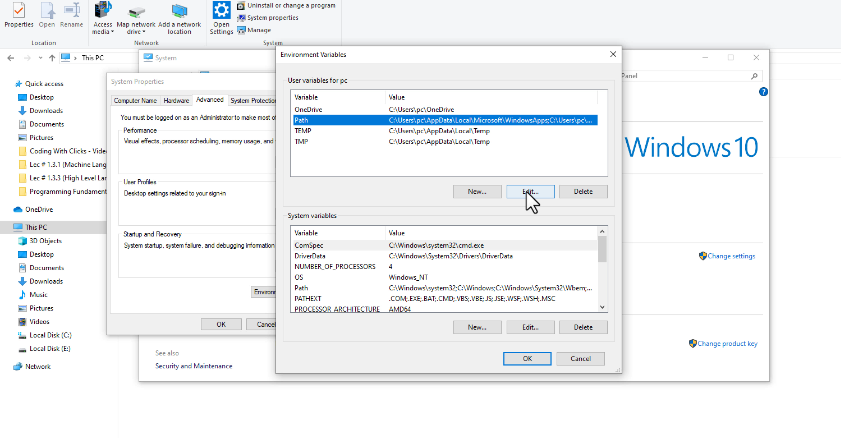
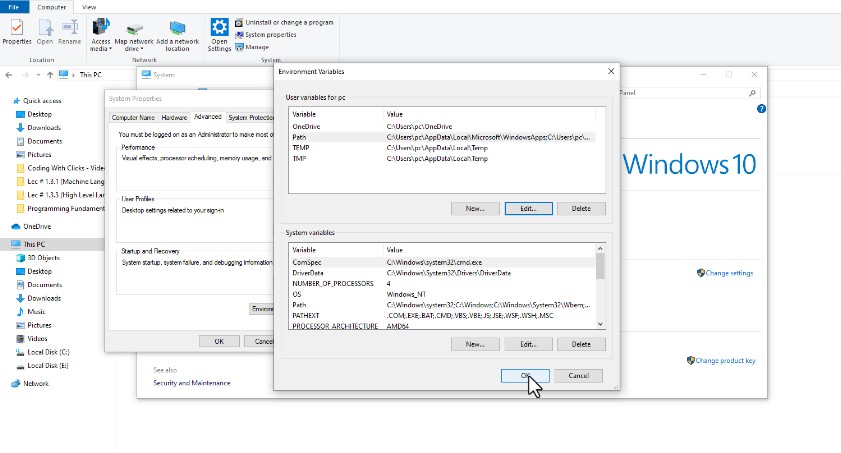
6. Now set the environment path:
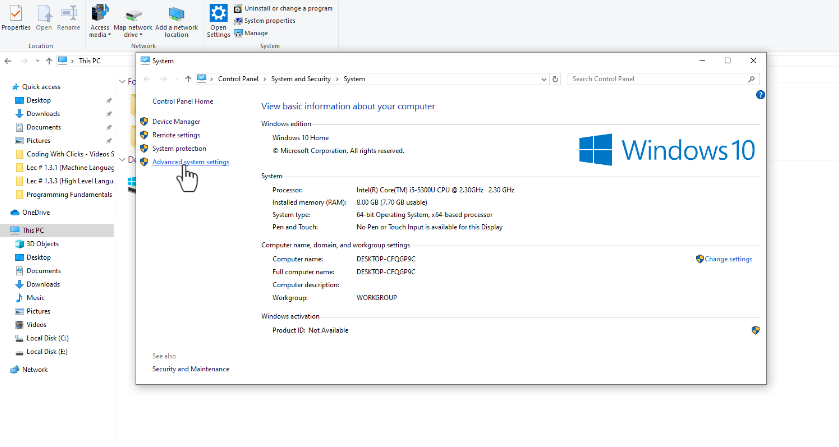
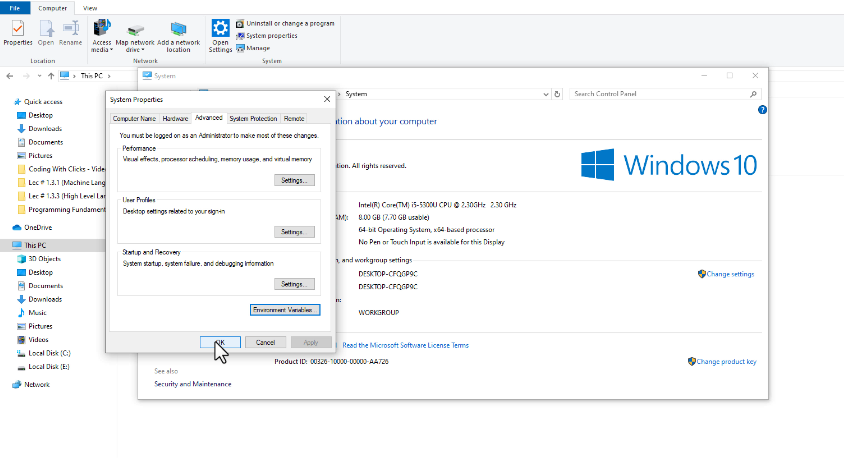
- Right-click on This PC or My Computer
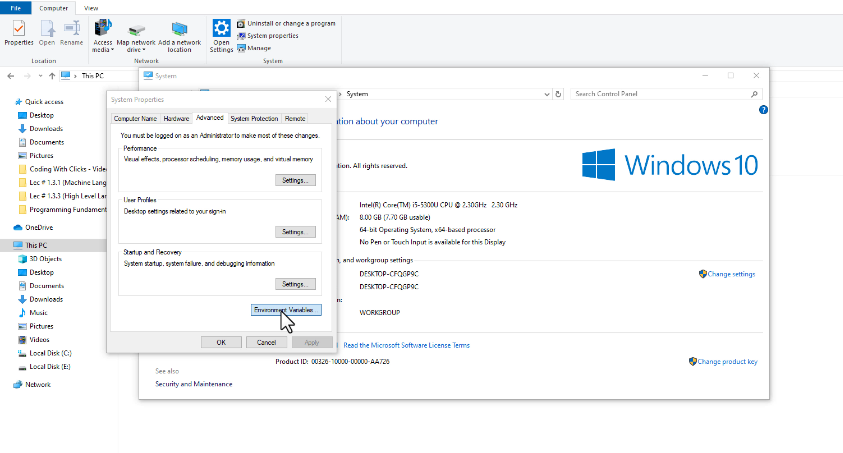
- Click on Properties > Advanced System Settings > Environment Variables
- Under System Variables, find and select Path, then click Edit
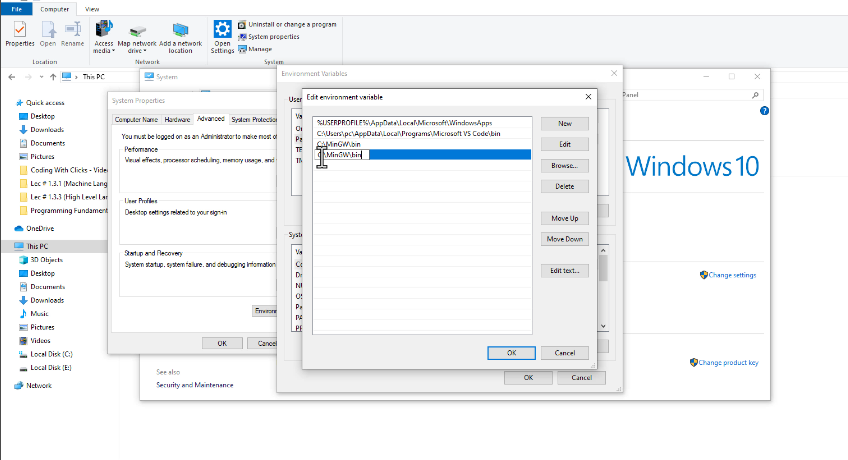
- Click New, then paste the copied address
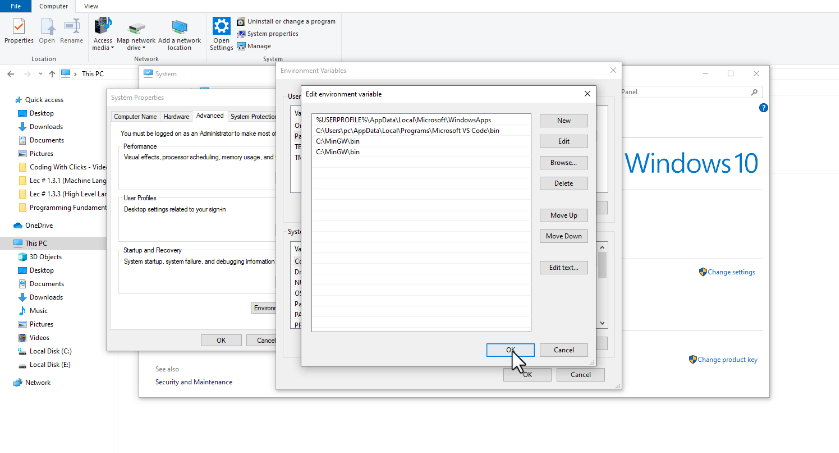
- Click OK on all windows

✅ MinGW is now installed successfully!
Step 2: Install Visual Studio Code (VS Code)
1. In your browser, type:
👉 “Visual Studio Code Download”

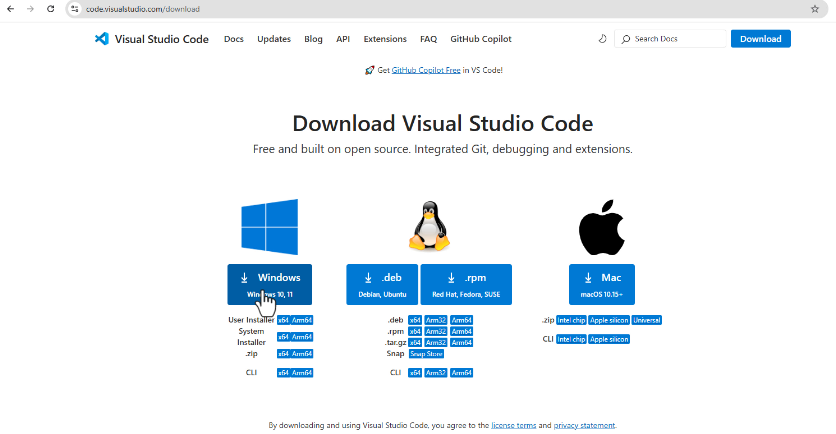
2. Click the first official website (code.visualstudio.com)

3. If you’re a Windows user, click on the Windows download button – it will start downloading.
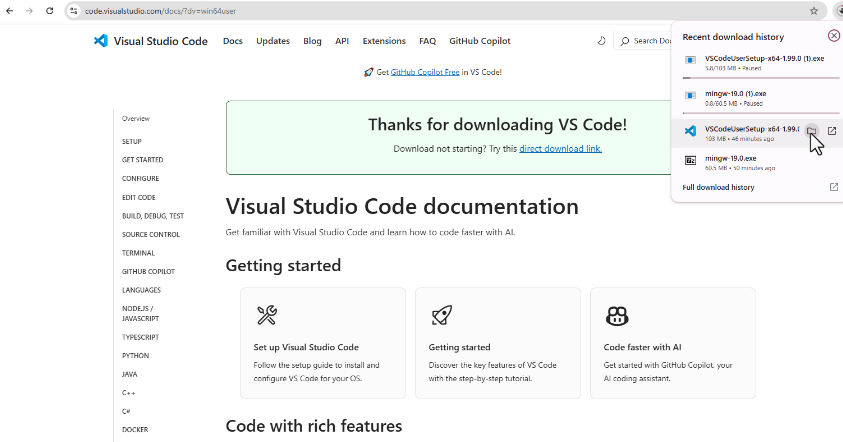
4. Once downloaded, open the installer:
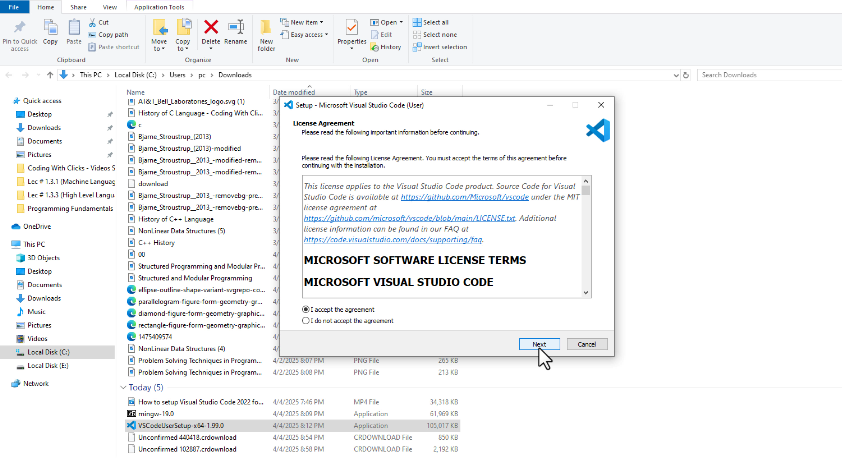
- Accept the agreement and click Next
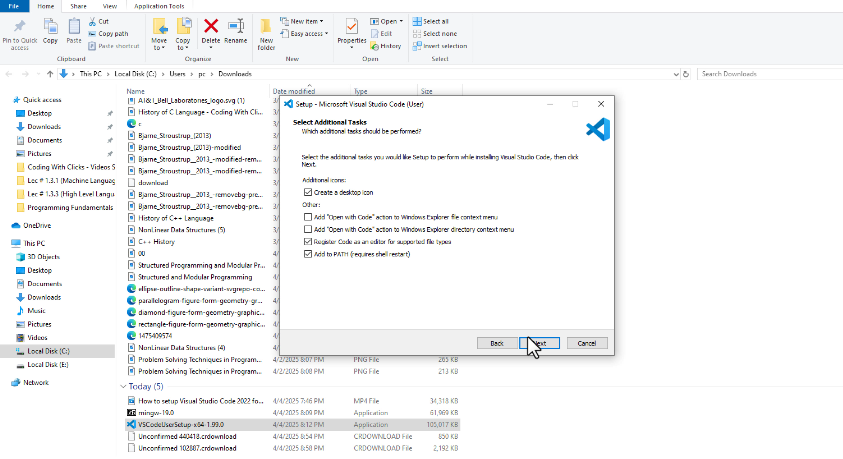
- (Optional) Tick the box to create a desktop icon
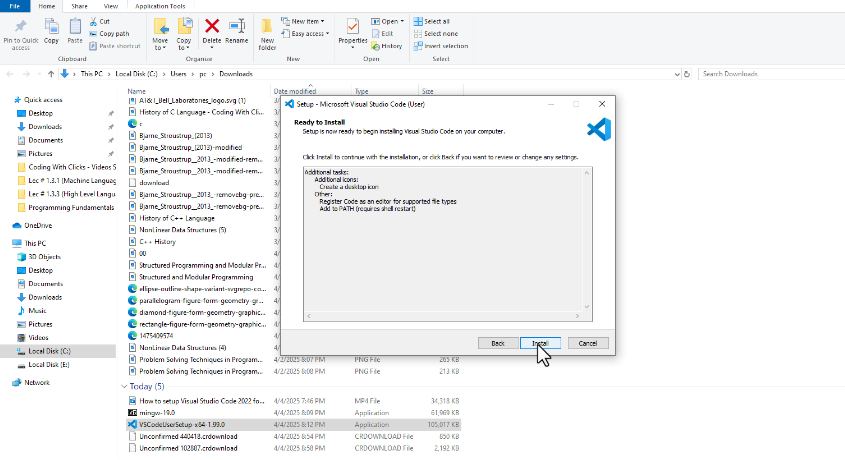
- Click Next, then Install
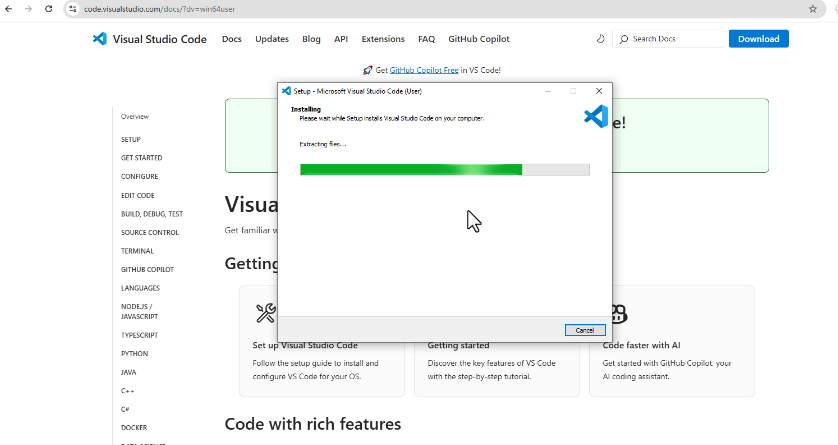
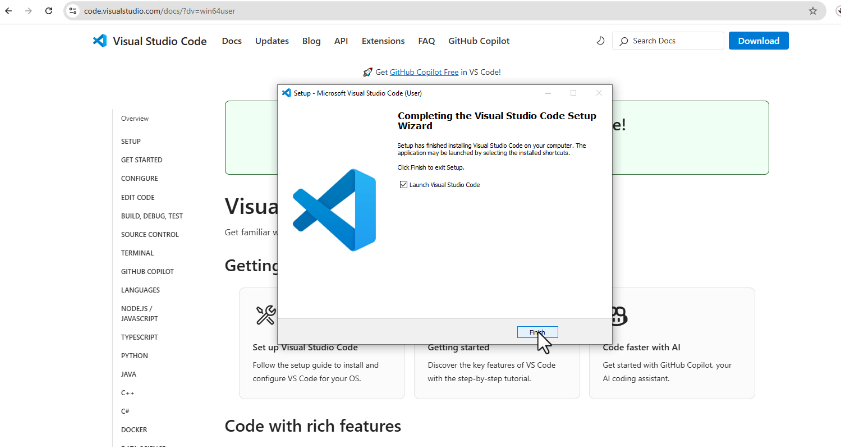
5. After the installation, click Finish – VS Code will open.
Step 3: Install Required Extensions in VS Code
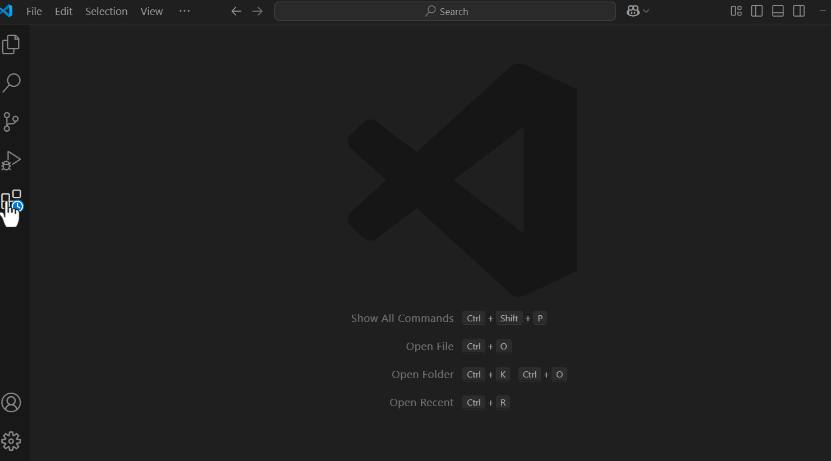
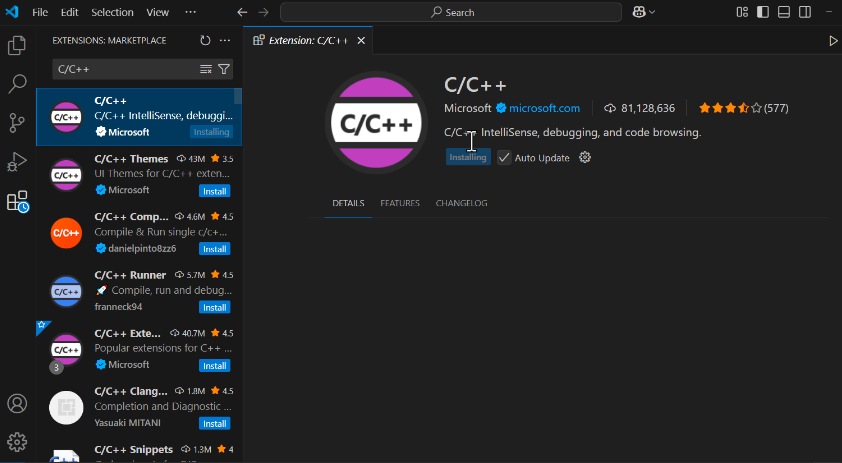
1. Click the Extensions icon (on the left sidebar).
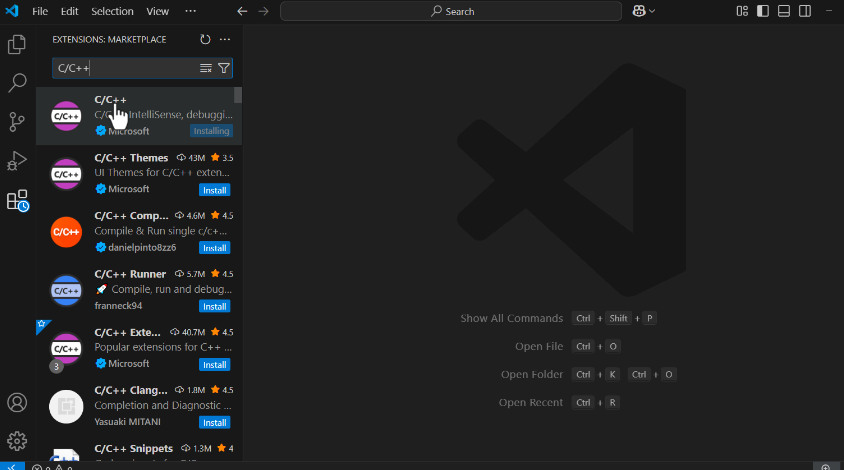
2. In the search bar, type:
👉 C/C++
Click on the first result and install it.
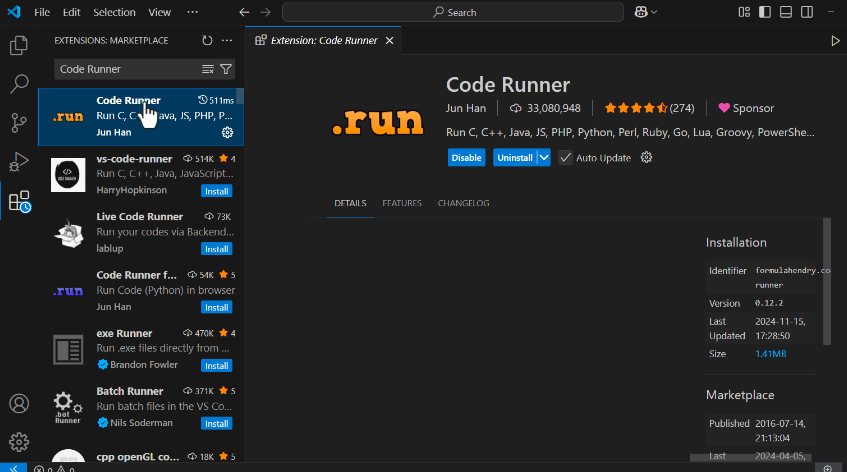
3. Next, search for:
👉 Code Runner
Again, click the first result and install it.
Step 4: Configure Input Support in Terminal
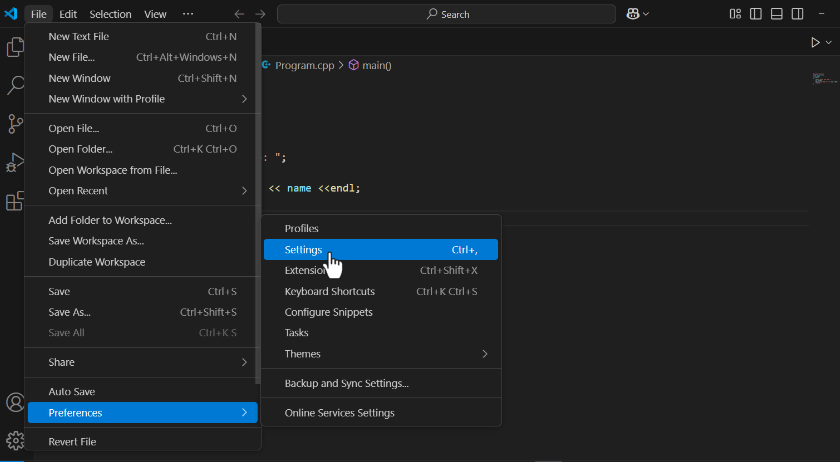
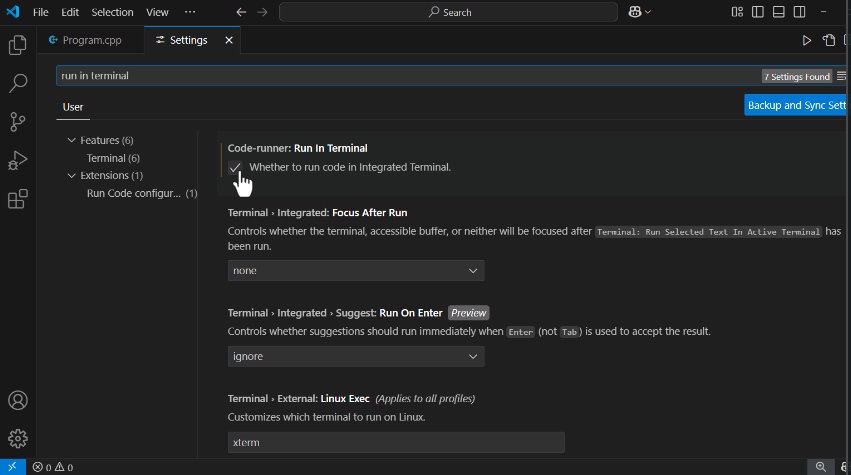
1. Go to File > Preferences > Settings
2. In the search bar, type:
👉 run in terminal
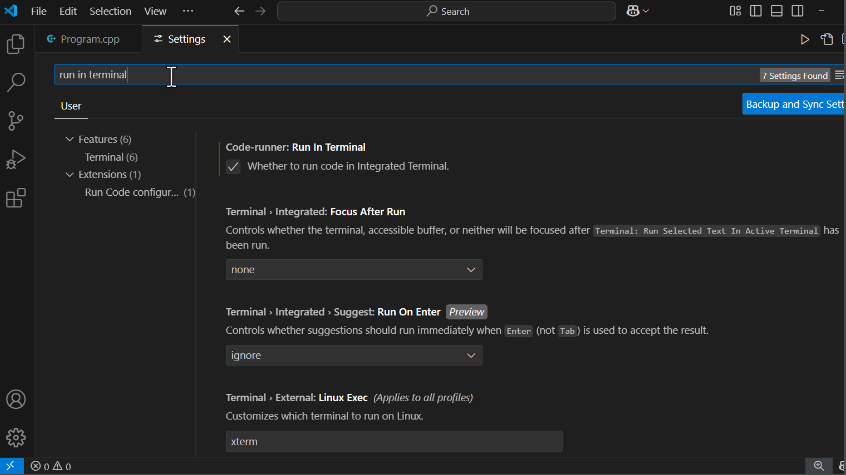
3. Scroll down and tick the box that says:
✅ “Run code in terminal”
This setting is important to allow user input in C/C++ programs.
4. Restart VS Code (close and reopen it)
Step 5: Write and Run C/C++ Programs in VS Code
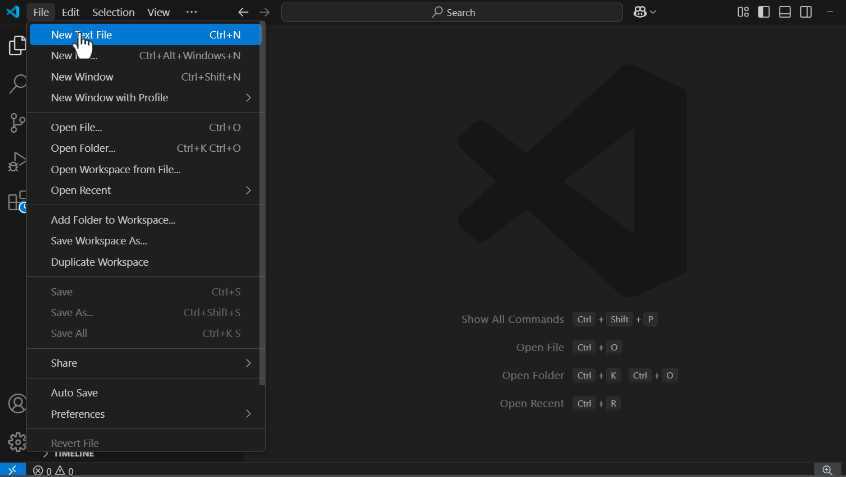
- Go to File > New Text File
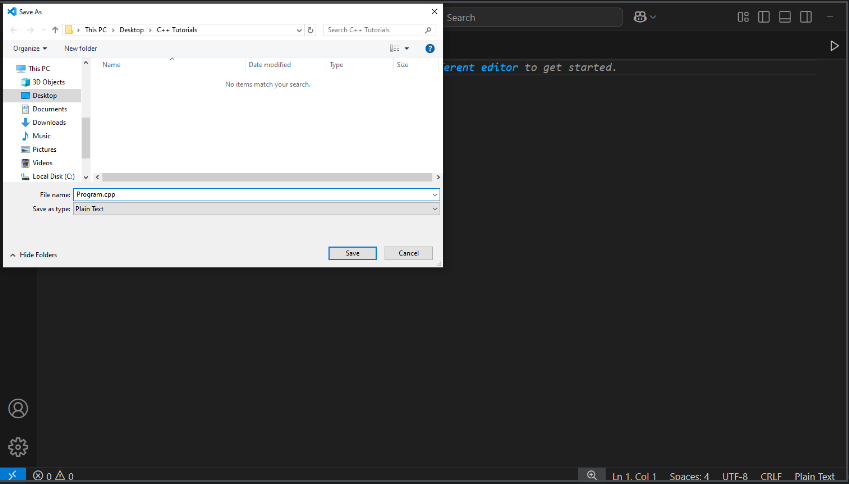
- Save the file:
- Go to File > Save As or press CTRL + S
- Type your desired file name and add the extension:
- Use
.cppfor C++ programs - Use
.cfor C programs
- Use
- Click Save
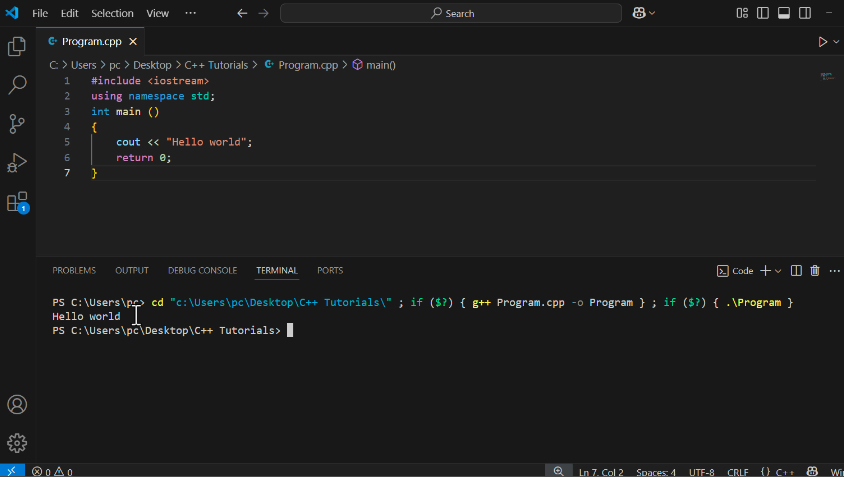
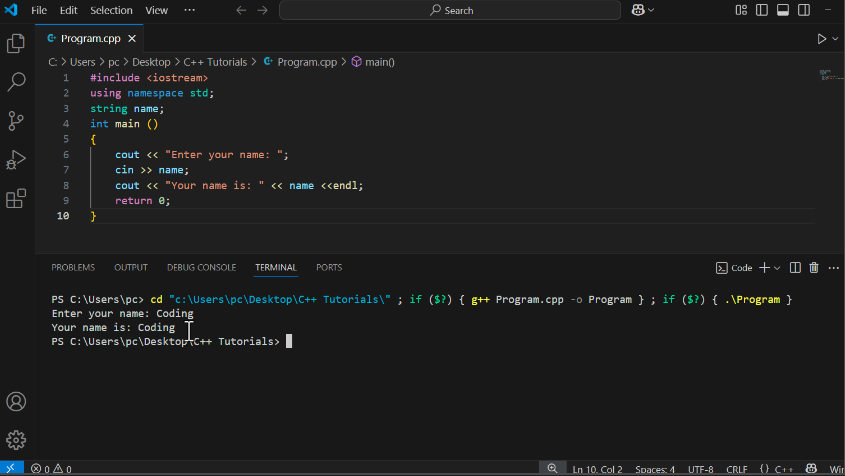
- Write your C or C++ program in the editor.
- After writing (or updating) the code, press CTRL + S to save.
- To run the program:
- Click the Play (▶️) “Run Code” icon from the top-right or bottom toolbar.
- The output will be displayed in the terminal below.
✅ Done! You’re now ready to write and run C/C++ programs in VS Code.
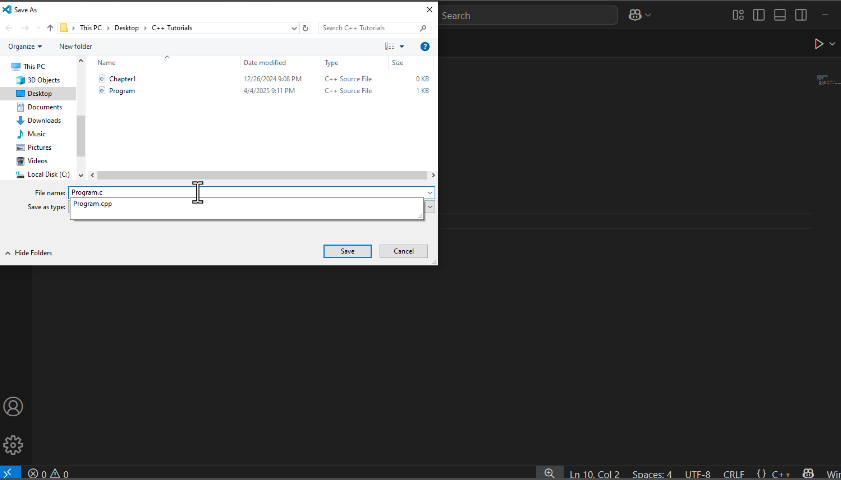
2. Save the file:
- Go to File > Save As or press CTRL + S
- Type your desired file name and add the extension:
- Use
.cppfor C++ programs - Use
.cfor C programs
- Use
- Click Save
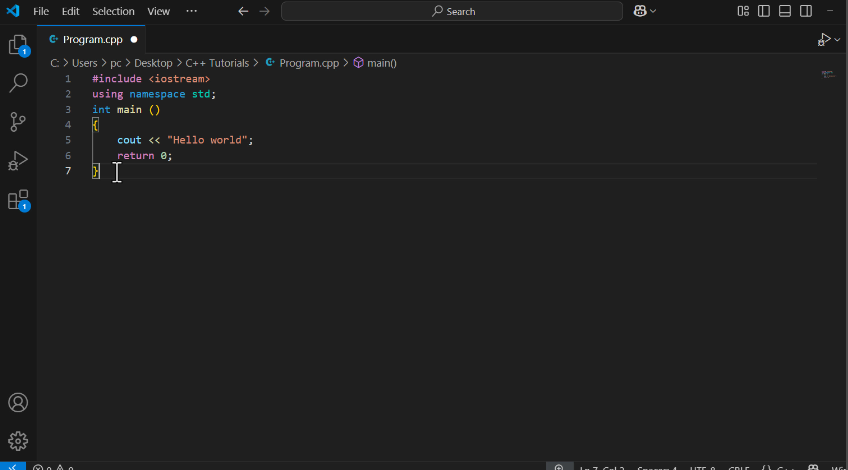
3. Write your C or C++ program in the editor.
4. After writing (or updating) the code, press CTRL + S to save.
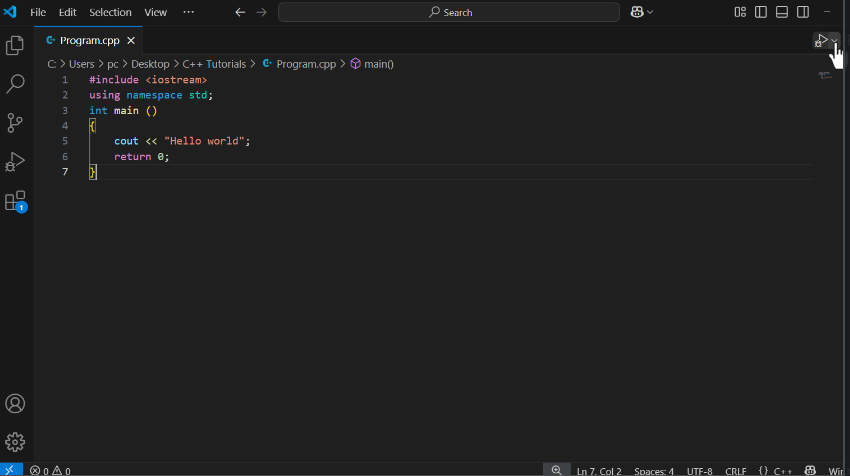
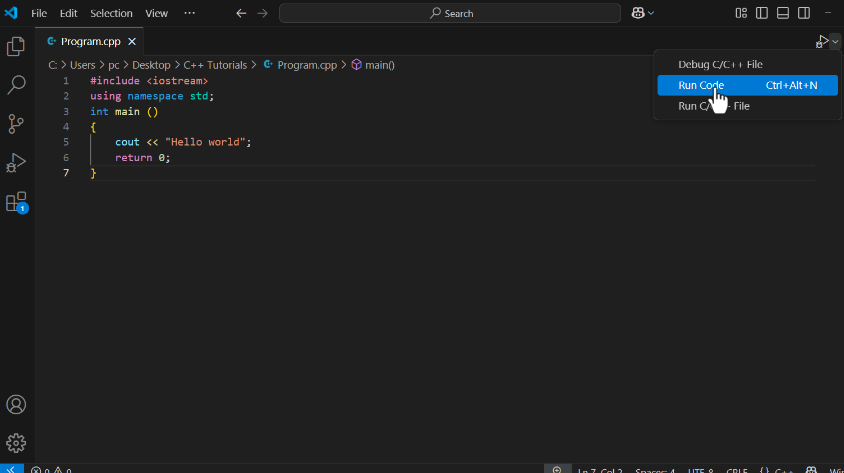
5. To run the program:
Click the Play (▶️) “Run Code” icon from the top-right or bottom toolbar.
6. The output will be displayed in the terminal below.
Done! You’re now ready to write and run C/C++ programs in VS Code.